We use machine learning technology to do auto-translation. Click "English" on top navigation bar to check Chinese version.
Get started with .NET development on Amazon Web Services
This post explains 3 important areas to set up in order to begin your journey with .NET development on Amazon Web Services. First, create an Amazon Web Services account and configure a developer user with an appropriate level of access. Second, install and configure command line tools. Lastly, download and configure the toolkit for your IDE. Many of the tools assume minimal knowledge of Amazon Web Services and will guide you.
Setting up and Configuring your Amazon account
To begin creating a new account follow the steps in the knowledge center article titled:
When you log in for the first time the
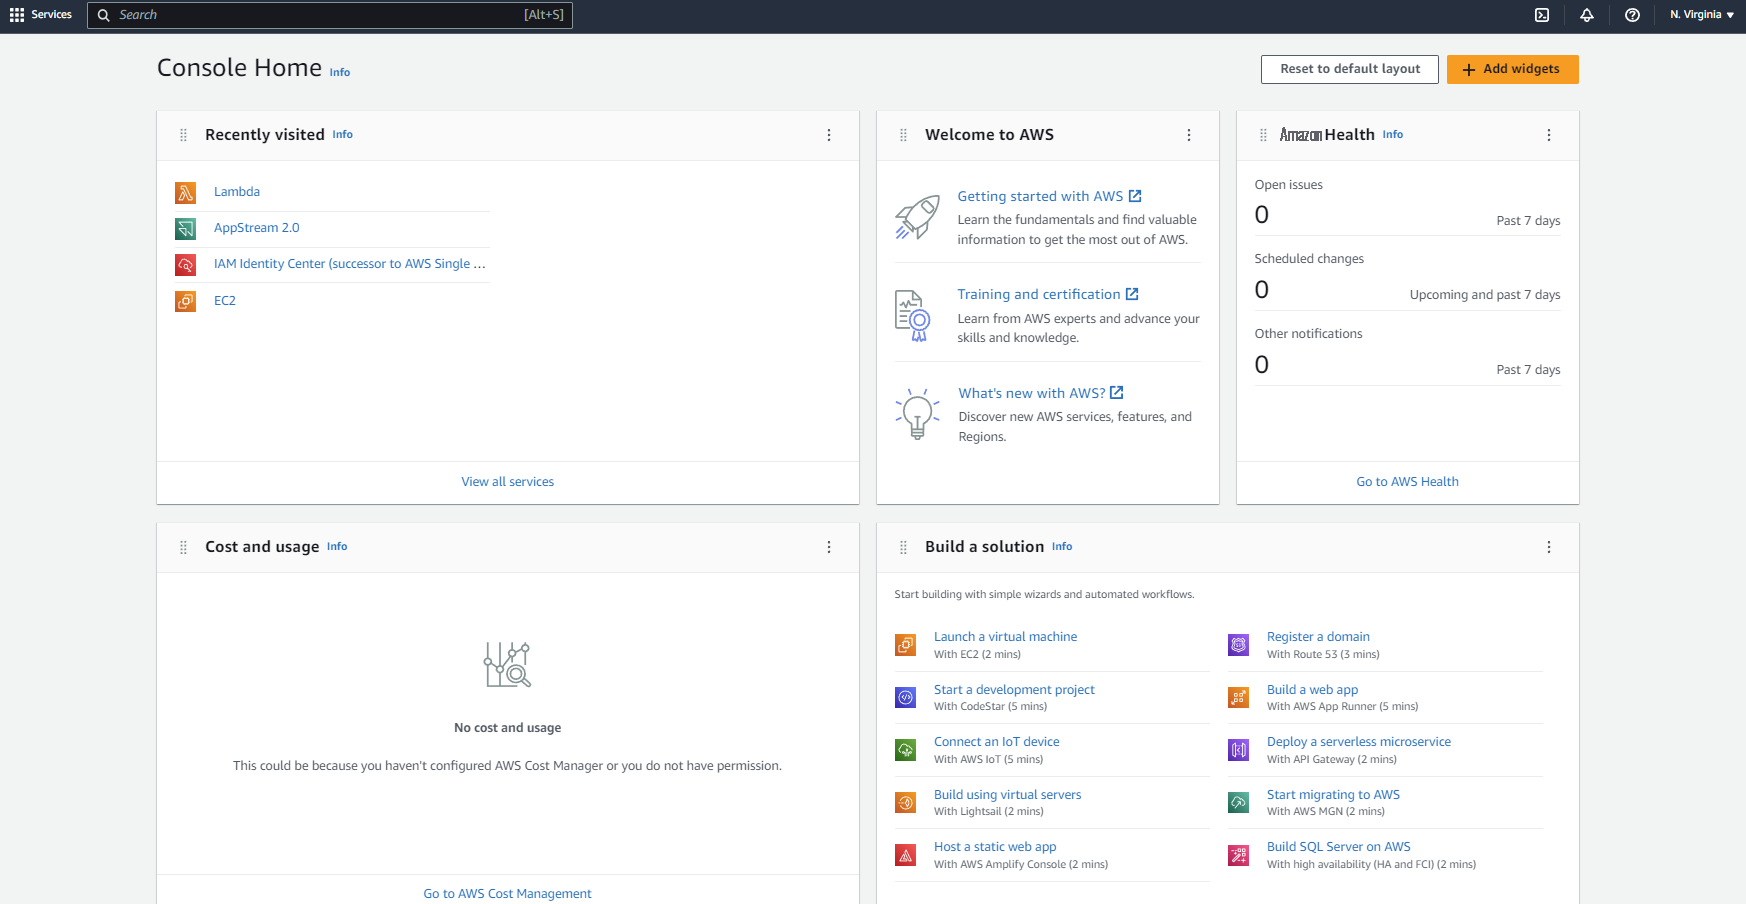
Management Console and Security Configuration Steps
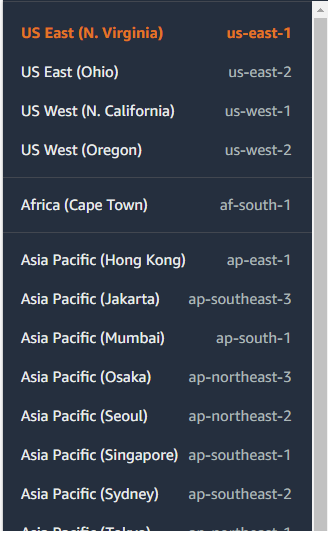
Select your region
It’s important to choose and confirm your
Create a developer user
The first time you access the console you will be signed in as an administrator. Administrator access is a powerful level of access that is not appropriate for all users and use cases. To ensure that your level of access is appropriate you can create a new user in your account and apply specific permissions to that user.
-
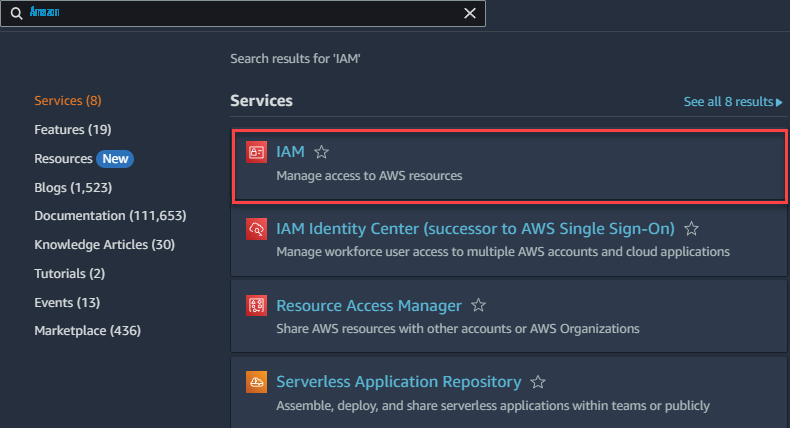
To create a new user in your account, use the Identity and Access Management (IAM) service, enter
IAM
in the search box and select
IAM
from the list of services.
-
In IAM select
Users
, and then select
Add users
.

-
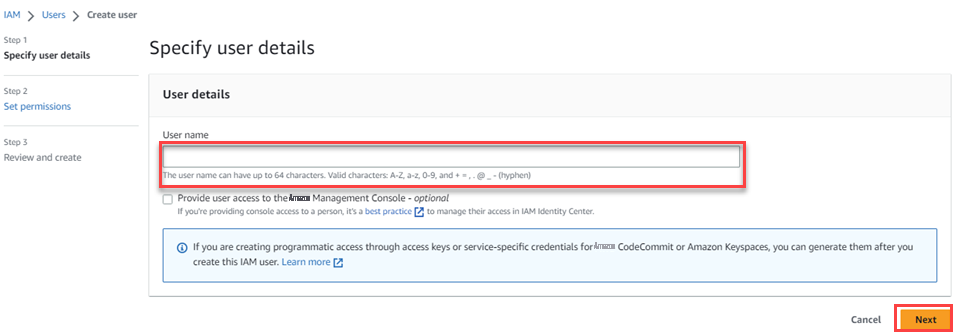
In
Specify user details
enter the name of a new user in
Username
, and then select
Next
.
-
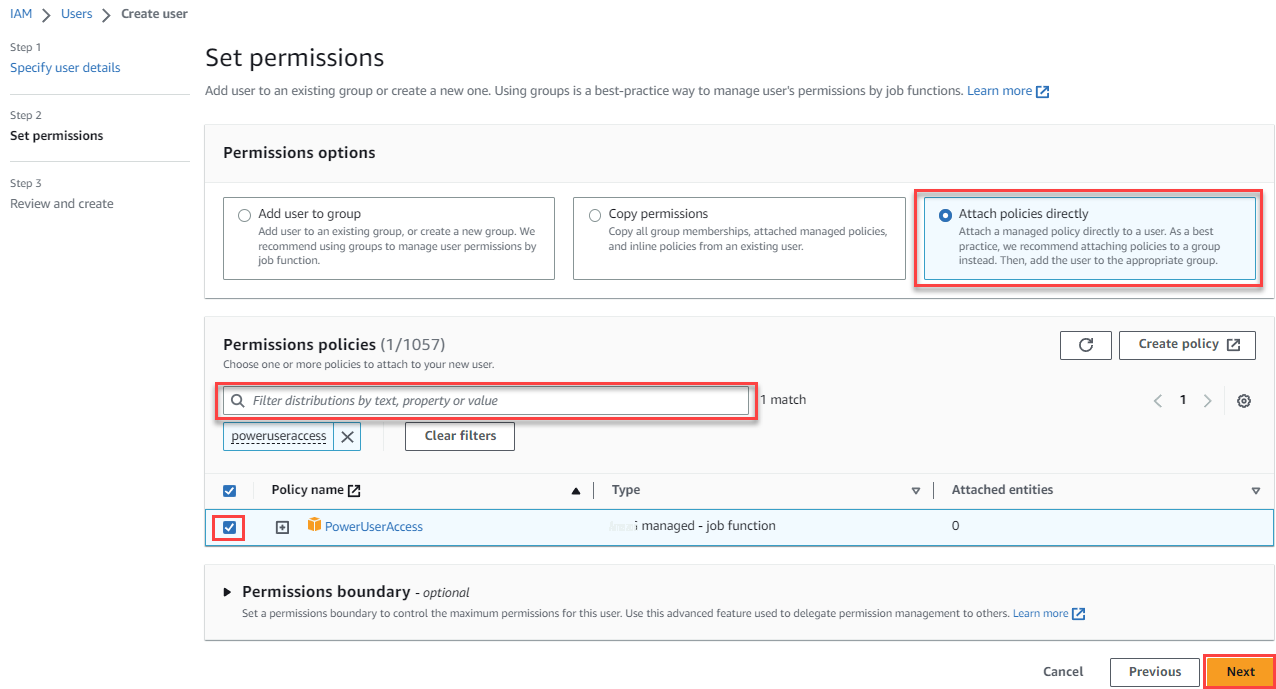
In
Set permissions
select
Attach policies directly
, in the search box enter
PowerUserAccess,
and then select the appropriate checkbox and choose
Next
. As you work with different services you will need to add additional permissions which you can find on the service
product pages .
Note : A user with thePowerUserAccess permission performs application development tasks and can create and configure resources and services that support Amazon Web Services application development. Remember to follow your organization’s security best practices and followAmazon Web Services least privilege guidelines.
-
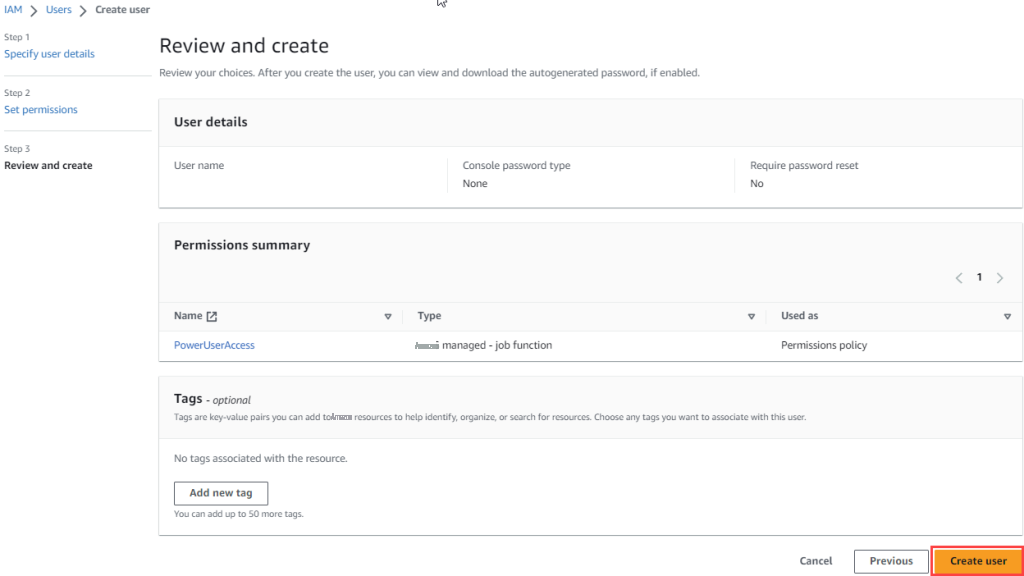
In
Review and create
review the
User details
and
Permissions summary
, then choose
Create User
.
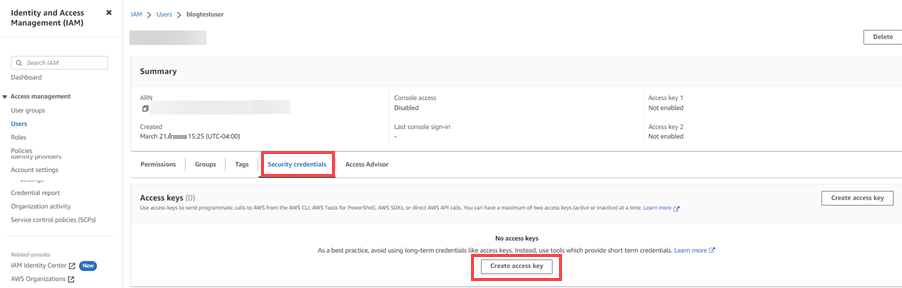
Create and download credentials
Now that you’ve created a new user you can configure the user to have a programmatic access key and secret key. These credentials will enable the Amazon Web Services CLI and other tools to access your Amazon Web Services account.
- Navigate to IAM , select Users , then in the Users panel select the User name for the user you recently created.
-
In the user window select the
Security credentials
tab, then select
Create access key
.
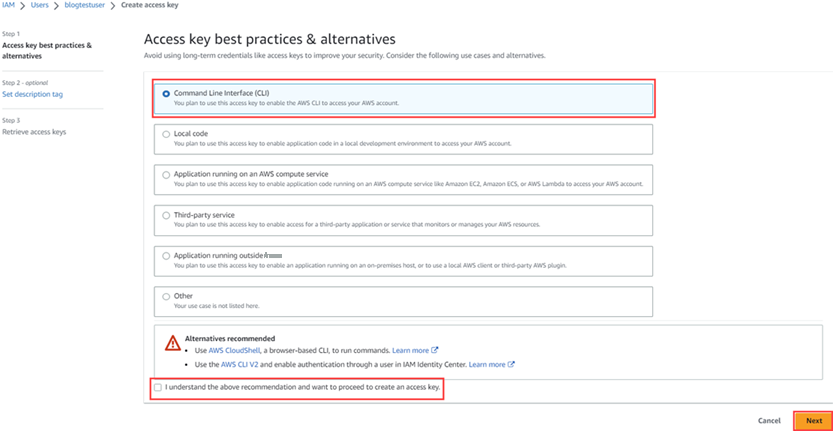
-
In
Access key best practices & alternatives
select
Command Line Interface (CLI)
, select that you understand the alternative recommendations, then select
Next
.
- In Set description tag enter an option description that details the purpose of the access keys then select Create access key . The access key and secret access keys are created.
- Select Download .csv file and save the file in secure location. You must save these keys in a safe place for future use.
Install and configure command line tools
When utilizing the command line, we recommend the
We also recommend you install extensions to the dotnet commands for Amazon Web Services and install the Amazon Web Services .NET deployment tool for .NET CLI.
Follow the steps listed below to install and configure the command line tools
-
Install the
Amazon Web Services CLI . -
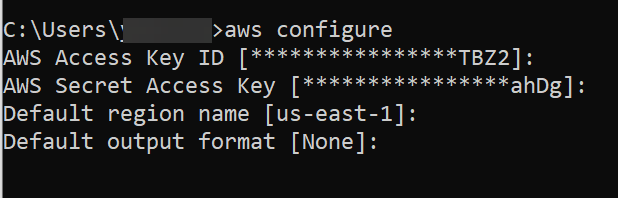
Configure the Amazon Web Services CLI and link it to your Amazon Web Services account and user with the credentials you downloaded. This creates a default Amazon Web Services profile.
-
Install the
Amazon Web Services Extensions for .NET CLI . These tool extensions are focused on building dotnet (formerly .NET Core) and ASP.NET Core applications and deploying them to Amazon Web Services services -
Install the
Amazon Web Services.NET deployment tool for .NET CLI . This tool simplifies deployment of .NET applications by suggesting compatible Amazon Web Services compute services for your application. -
If you’re a PowerShell user install the
Amazon Web Services Tools for PowerShell .
Install and Configure Amazon Web Services IDE Toolkits
Amazon Web Services offers several IDE toolkits that can be used to develop, debug, and deploy to Amazon Web Services products. The below steps are specific for Microsoft Visual Studio users. To see a full list of other toolkits, review the
-
Install the
Amazon Web Services Toolkit for Visual Studio . This toolkit improves development workflows by making Amazon Web Services services available directly from your Visual Studio environment. This toolkit also includes the featurePublish to Amazon Web Services which guides you in the publishing process. - In Visual Studio go to the Amazon Web Services Explorer view and select default as your Amazon Web Services profile. When default is selected a list of Amazon Web Services services are displayed in the Amazon Web Services Explorer. You should then set the region in Amazon Web Services Explorer to match the region in the Amazon Web Services Management Console.
Conclusion
In this post, we showed you how to get setup with an Amazon Web Services account, create a new user, and create and download credentials. We then outlined how to install and configure important command line tools and IDE toolkits. For more information on all things .NET on Amazon Web Services bookmark the
The mentioned AWS GenAI Services service names relating to generative AI are only available or previewed in the Global Regions. Amazon Web Services China promotes AWS GenAI Services relating to generative AI solely for China-to-global business purposes and/or advanced technology introduction.